Bubbles in gel polish: why they appear and how to prevent them
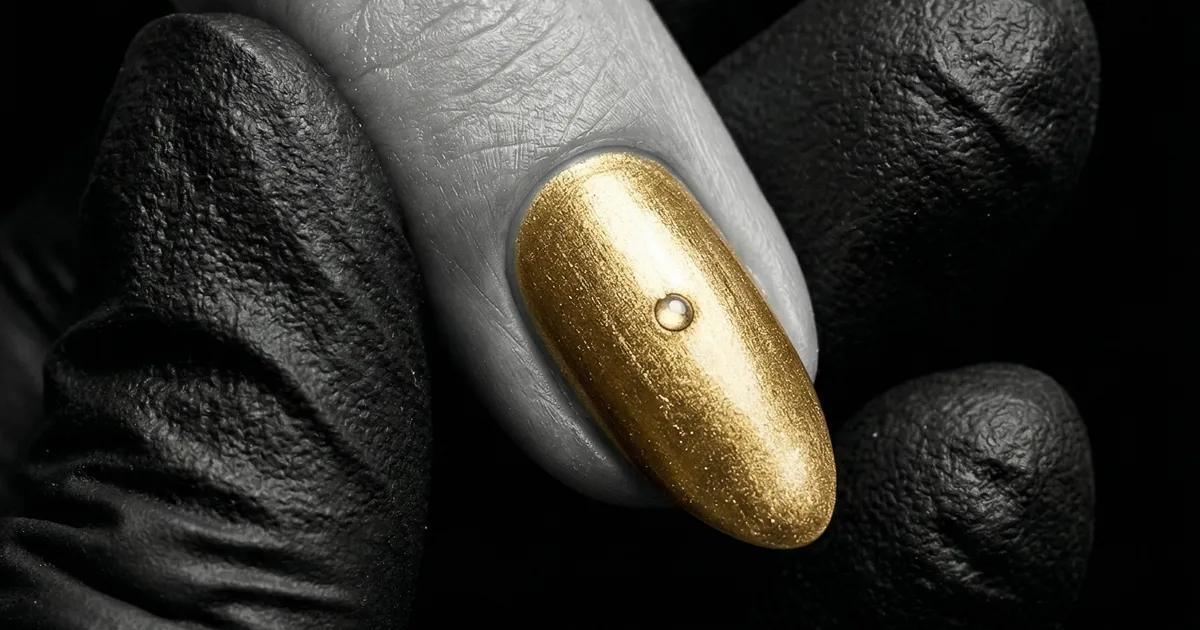
Bubbles in gel polish are one of the most frustrating flaws a manicure can have: they spoil the finish and are a sign that something in the prep, application or curing hasn't gone quite right.
Bubbles in gel polish are one of the most frustrating flaws a manicure in Gandia can have: they spoil the finish and are a sign that something in the prep, application or curing hasn't gone quite right. This guide looks at the 7 most common technical causes, explains how to prevent them with a step-by-step routine and covers what to do once bubbles have already appeared. Also available: manicures in Ontinyent.
What are gel polish bubbles and why do they matter?
Bubbles in gel polish (also known as semi-permanent or shellac-style polish) are small raised spots or blisters that form on the surface during or just after curing under a UV or LED lamp. They show that the product hasn't cured evenly, which affects both adhesion and how long the manicure lasts. Properly applied gel polish lasts 2 to 4 weeks with no visible wear; once bubbles appear, it may last less than a week before it starts lifting or peeling.
In our salon experience, 80% of bubble cases come down to prep or application errors, not faulty product. Pinpointing the exact cause is key to fixing it for good and stopping it happening again at your next appointment. Our complete guide to gel polish goes deeper into the basics for anyone who wants to know more about the technique and how to look after it.
7 main causes of bubbles in gel polish
Identifying where the bubbles come from is the first step to preventing them effectively. Professional technique points to seven factors that, alone or together, consistently cause this problem. Most are technique errors that are easy to correct once spotted, not problems with the product itself or the brand of polish.
Shaking the bottle instead of rolling it between your hands
Shaking a bottle of gel polish whips tiny air bubbles into the formula before it's even applied to the nail. The right way is to roll the bottle gently between your palms for 10-15 seconds to blend the pigment without adding air. According to industry figures, shaking the bottle can shorten the polish's life by up to 30% compared with rolling it, because it changes the formula's viscosity and stability — which translates directly into a higher risk of bubbles during curing.
Applying coats that are too thick
Each coat of gel polish should be no more than 0.5 mm thick. Thick coats stop the lamp from curing the product evenly: the outer surface cures in the first few seconds while the inside stays liquid, building up pressure underneath that pushes upwards and creates those tell-tale raised spots. The correct technique is 2-3 thin coats, curing each one fully before moving on to the next.
Moisture or oil left on the natural nail
Natural oils, traces of moisturiser or moisture on the nail plate stop the base coat and colour from bonding properly. Your nail technician should apply a dedicated dehydrator to the prepped nail and, in many cases, an acid or acid-free primer before the base coat, depending on the nail. Skipping this step is the most common mistake in at-home manicures and the main cause of bubbles combined with early lifting in the first few days.
Wrong room temperature and poor ventilation
The temperature of the room directly affects the viscosity of gel polish and how it spreads over the nail. The ideal temperature for application is between 18 and 24 °C. Above 26 °C, the product becomes runnier and tends to spread unevenly and pool; below 16 °C, the formula thickens and is harder to apply evenly, encouraging bubbles and poor adhesion.
Incorrect curing times under a UV/LED lamp
Each gel polish has specific curing times set by the manufacturer for a reference lamp power: 30 to 60 seconds for high-power LED lamps (≥36W) and 60 to 120 seconds for standard UV lamps. Under-curing leaves the product partly uncured beneath the surface, creating bubbles. Over-curing can cause surface tension and micro-cracks. Matching the polish to the type of lamp is just as important as application technique.
Base coat applied badly or incompatible
The base coat is the foundation of any gel polish manicure and the bonding point between the natural nail and the colour. A base applied too heavily, or one that isn't compatible with the colour polish, creates an uneven layer that traps air between coats during curing. Professional technique says the base coat should go on in a thin, even layer, sealing the side walls and the free edge of the nail before curing, without leaving any product on the surrounding skin.
Out-of-date or badly stored product
Gel polish exposed to heat, direct sunlight or humidity breaks down, changing the formula for good. Product in poor condition is thicker, has an uneven texture and tends to bubble when cured, even with flawless application. Once opened, it keeps for 12 to 24 months; after that, the chances of bubbles and other flaws such as loss of shine rise significantly.
How to prevent bubbles in gel polish, step by step
Preventing bubbles in gel polish means following a strict prep and application routine at every appointment, without skipping any step even when time is tight. Professional technique treats the following steps as non-negotiable for a bubble-free result that lasts as long as possible:
- Clean and dehydrate the nail plate: Remove natural oils and leftover moisture with a dedicated dehydrator. This takes less than a minute but is crucial for every coat that follows to bond properly.
- Apply primer if the nail is oily or porous: Especially recommended for natural nails with a history of lifting or a tendency to peel early.
- Base coat in a thin, even layer: Apply in a single stroke, sealing the side walls and free edge. Cure for exactly the time the manufacturer specifies for your lamp's power.
- Roll the polish before opening: Never shake the bottle. Roll it gently between your palms for 10-15 seconds before each use.
- Apply 2-3 thin coats of colour: Cure fully between each coat. Recommended maximum thickness: 0.5 mm per coat.
- Top coat in a thin layer: No build-up at the edges or cuticle. Seal the free edge for maximum wear and shine.
- Keep an eye on room temperature: Keep the room between 18 and 24 °C throughout the appointment.
Following this routine every time removes the cause of most bubbles, whatever the brand or colour of gel polish.
What to do if bubbles have already appeared on your nails
When bubbles have already appeared in gel polish, how they can be fixed depends on exactly when they're spotted. If the problem is noticed during the appointment — before the top coat's final cure — your nail technician can remove the affected layer, prep the surface again with dehydrator and reapply the colour from scratch. Catching it early avoids a full removal and only adds a few minutes to the appointment.
If the bubbles appear hours or days after your appointment, the only technically safe solution is to remove the polish completely. Adding more coats over the bubbles doesn't fix anything: it makes the whole thing thicker, stops the new coats curing properly and can cause lifting across the whole nail. A full removal with a repair manicure is the recommended approach in these cases, especially if the nail plate shows signs of weakness or built-up dryness.
Once the polish is off, it's a good idea to leave your nails bare for 24 to 48 hours so the nail plate can rehydrate. Yellowish nails after wearing polish can be another sign of built-up damage; our guide to yellow nails after polish explains the causes, prevention and treatment options.
Bubbles, lifting and peeling: what's the difference?
Telling which kind of flaw your nails have helps pinpoint the real cause and choose the right fix. The three most common problems with gel polish look different, so you can tell them apart without any special training:
| Flaw | What it looks like | Most common cause | When it appears |
|---|---|---|---|
| Bubbles | Rounded raised spots on the polish surface | Air trapped during application or curing | During or just after curing |
| Lifting | Polish comes away from the nail at the edges or cuticle | Poor prep of the nail plate | 3-7 days after application |
| Peeling | Polish chips or flakes off in uneven layers | Thick coats or a poor top coat | 5-10 days after application |
If the problem is lifting or peeling rather than bubbles, our guide to common gel polish problems looks in depth at the causes and fixes for each one. If the polish causes irritation, redness or itching on the skin around the nail, it may be an allergic reaction: our guide to gel polish allergy covers the symptoms, causes and safe alternatives.
When to go to a professional nail salon
Going to a professional salon for your gel polish in Gandia means every stage — nail prep, application in thin coats and curing under a calibrated lamp — is carried out with the right products and training. In our salon experience, most clients who come to us to fix recurring bubbles have had their polish done at home or at salons without specific nail training. Also available: gel polish in Ontinyent.
A specialist salon uses calibrated LED lamps of at least 36W, polishes that are tested for compatibility with the lamp power, and applies dehydrator and primer as standard at every appointment. The usual result is gel polish that keeps its finish for 2 to 4 weeks with no bubbles, lifting or loss of shine.
At our beauty salon in Ontinyent and at Adrian Beauty Studio in Gandia, our professional gel polish includes full prep with dehydrator, primer when needed and sealed edges at every appointment. If your nails have built-up damage from previous applications with bubbles or lifting, a full removal with a repair manicure is the recommended starting point before a new gel polish appointment in Gandia or Ontinyent.
FAQs about bubbles in gel polish
Why does gel polish bubble after curing under the lamp?
Bubbles that appear after curing under a UV or LED lamp are mainly down to two technical factors: coats of gel polish that are too thick, and curing times that don't match the lamp's power. When a coat is thicker than 0.5 mm, the lamp's light doesn't reach evenly down to the base: the outer surface cures in the first 15-20 seconds while the inside stays liquid, building up pressure that pushes upwards and creates visible bubbles. With lamps under 36W, curing time should be extended to 90-120 seconds per coat to make sure the whole depth of the coat cures. Using a more powerful lamp with shorter times without checking the polish is compatible causes exactly the same problem. The fix always comes down to adjusting the thickness of each coat and the curing time to the lamp being used.
Can bubbles be fixed without removing all the polish?
Bubbles can only be fixed without a full removal if they're spotted during the appointment, before the final top coat goes on. At that point, your nail technician can gently buff the affected layer with a fine-grit file, wipe away the dust with dehydrator and reapply the colour in properly thin coats. If the bubbles appear after the top coat's final cure, or days after the appointment, there's no technical fix without removing the polish completely. Adding more coats on top doesn't solve the underlying problem: it makes everything thicker, stops the new coats curing properly and can cause extra lifting in areas that were well bonded. A full removal, followed by 24 to 48 hours for the nail plate to recover, is the only way to guarantee a clean result next time.
Are gel polish bubbles caused by the product or the application?
In our salon experience, around 80% of bubble cases in gel polish are caused by application errors, not faulty product. The most common mistakes are: skipping dehydration of the nail plate before the base coat, applying coats thicker than 0.5 mm, shaking the bottle instead of rolling it between your palms, and working in a room warmer than 26 °C. The remaining 20% of cases are down to product that's out of date, badly stored or proven to be incompatible with the lamp's power. If in doubt, check the polish's expiry date and its lamp compatibility before putting the problem down to technique alone. The same polish can work perfectly under a 48W LED lamp and bubble every time under a low-power UV lamp with worn-out bulbs.
How often should gel polish be redone to avoid problems?
Properly applied gel polish keeps its finish in top condition for 2 to 4 weeks, depending on how fast your nails grow and how much everyday contact they have with water, detergents and friction. We recommend having it redone every 3 to 5 weeks. Leaving it longer than 5-6 weeks encourages lifting as the natural nail grows out, which can trap moisture under the polish and gradually weaken the nail plate. To keep your nails in good shape between appointments, our guide to natural nail care has a daily routine designed for nails with gel polish. If your gel polish bubbles, lifts or loses its shine within 2 weeks of application, it's worth going over the routine used with one of our nail technicians.
Does the type of lamp affect whether bubbles appear?
The type and power of the lamp have a direct impact on how well the polish cures and, therefore, on whether bubbles appear in gel polish. High-power LED lamps (36W or more) cure polish in 30-60 seconds per coat and are compatible with most professional gel polishes on the market in 2026. Standard UV lamps need curing times of 60 to 120 seconds and their bulbs have a limited life: a worn UV bulb cures unevenly and is a common cause of bubbles that are wrongly blamed on the polish or the nail technician's technique. The standard salon recommendation is to use LED lamps of at least 36W and always check specific compatibility with the brand of gel polish before adjusting curing times per coat.
Have your nails been crying out for some professional care? Book a professional gel polish appointment at our Ontinyent salon or at Adrian Beauty Studio in Gandia and leave the details to a specialist.
Quick reference: types of manicure
| Type | Lasts | Appointment | Adds length? |
|---|---|---|---|
| Gel polish | 2-4 wks | 45-60 min | No |
| Semigel | 3-4 wks | 50-65 min | No |
| Gel/Polygel | 3-4 wks | 75-100 min | Yes |
| Acrylic | 3-5 wks | 80-110 min | Yes |
| OPI | 5-7 days | 30-40 min | No |