Nail removal with a repair manicure: the best fix for damaged nails
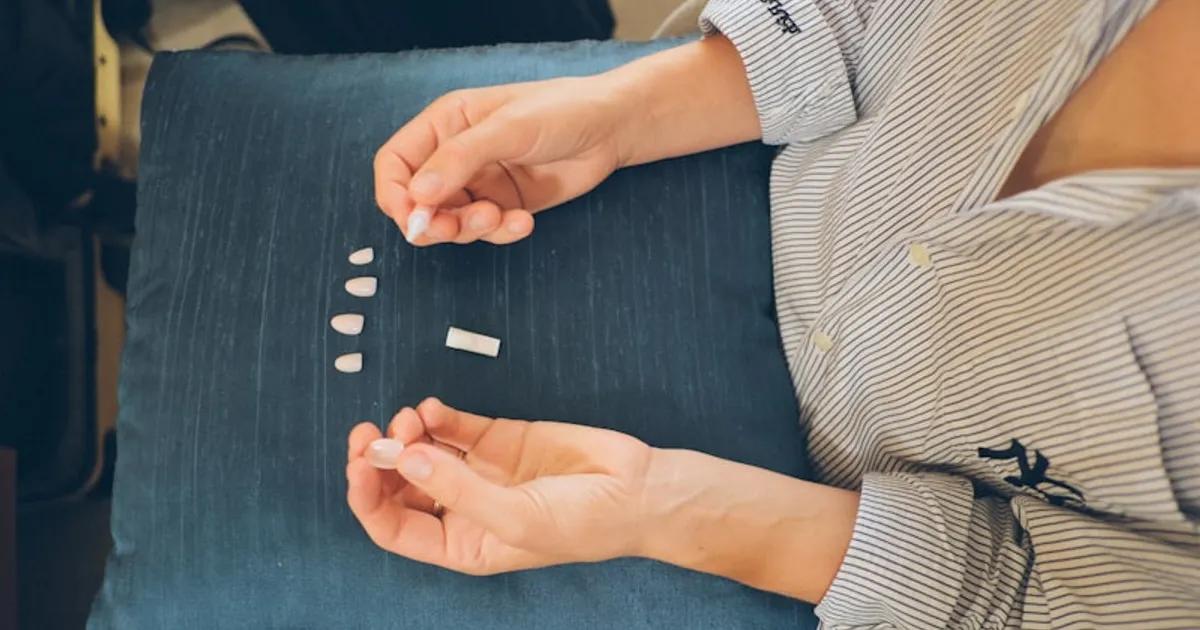
Taking off gel, acrylic or polygel nails shouldn't be the end of the treatment — it's the start of the recovery. Here's how a removal with a repair manicure works.
Taking off gel nails, acrylics or polygel shouldn't be the end of the treatment — it should be the start of the recovery. A full removal with a manicure to repair the nails combines safe removal of the product with immediate hydration, nourishment and strengthening of your natural nail. If you're looking for full nail removal in Gandia or Ontinyent that won't leave your nails in a state, this is the service you need to know about.
What Is a Full Removal with a Repair Manicure?
In many salons, removal is a stand-alone service: the product comes off and you go home. The problem is that the nail plate is left exposed, dehydrated and vulnerable at exactly the moment it needs the most protection.
A removal with a repair manicure changes that. As well as taking the product off safely, it includes a full recovery phase: checking the real condition of the nail, cuticle care, deep hydration and strengthening base coats.
Removal on its own vs removal + repair manicure
A removal on its own takes the product off (acrylic, gel or polygel) with acetone, gentle e-filing or a mix of both. Once the surface is clean, the service ends and the nail is left unprotected.
A removal with a repair manicure adds a crucial step: cuticle care, a massage with specific oils (jojoba, vitamin E or liquid keratin), a hardener or strengthening base such as IBX or CND RescueRXx and, if you like, a coat of polish to act as a protective layer. Instead of leaving the nail bare, you walk out with it shielded and nourished.
Why a Repair Manicure Matters After Removal
How removal damages natural nails
Any enhancement — acrylic, gel or polygel — needs mechanical grip on the nail surface. To get it, the nail plate is lightly buffed and primers or dehydrators are applied. Add the long contact with acetone during removal, and the result is:
- Dehydrated keratin layers: the nail loses water and lipids, turning whitish and fragile.
- A thinner nail plate: after months of filing and bonding, the nail can lose a good part of its usual thickness.
- Peeling: the keratin layers separate, with visible flaking at the free edge.
- More sensitivity: the nail can hurt when you press on something or touch hot water.
Without aftercare, this damage can take 3 to 6 months to put itself right. With a repair manicure straight away, recovery is noticeably quicker.
How a repair manicure strengthens and heals
The repair phase works on three levels:
- Instant rehydration: oils and serums soak into the nail plate and bring back flexibility. Products with hydrolysed keratin or panthenol are standard in a professional salon.
- Sealing the layers: strengthening bases fill the micro-cracks in the keratin and slow down peeling from the very first session.
- Cuticle protection: the skin around the nail is usually dry after weeks under enhancements. Gently pushing back the cuticle and applying a dedicated oil helps healthy growth from the root.
Removal Techniques by Type of Enhancement
Not all enhancements come off the same way. Knowing the differences keeps the process safe and keeps damage to a minimum. If you're not sure which one you're wearing, our comparison of acrylic, gel and polygel can help.
Professional acrylic removal
Acrylic nails are the toughest material, so removing acrylics in Gandia or Ontinyent takes more patience. The standard salon process combines:
- Filing first with a medium-grit file (150-180) to take down the surface thickness and break the top coat seal.
- Soaking in pure acetone for 15-20 minutes, wrapping each finger with soaked cotton and foil or reusable silicone clips.
- Lifting off with a wooden pusher (orange stick): the softened acrylic is eased off gently without scraping. If it resists, it goes back to soak for a few more minutes — it's never pulled off.
If you wear acrylics and want to understand the material better before taking them off, have a look at our guide to acrylic nails and how they're built.
Safe gel and polygel removal
Gel cured under a UV/LED lamp and polygel are more flexible, but they also bond strongly. The technique depends on the product:
- Gel polish (shellac/rubber base): 10-12 minutes soaking in acetone is usually enough. Some peel-off bases come off without any solvent. You can read more about this kind of polish in our gel polish guide.
- Builder gel and polygel: need more controlled filing with an e-file at low speed. Around 80 % of the product is filed off and the rest is removed with acetone so the natural nail isn't touched.
Step by Step: Removal + Repair Manicure
This is how the appointment usually goes; it takes around 25 minutes. A full removal costs €15 if you're wearing gel polish and €18 if it's acrylic or gel/polygel.
Step 1 — Preparation and assessment
Your technician checks the enhancements and the natural nail visible in the regrowth area. She looks at which product you're wearing, whether there's any lifting and whether the nail already shows signs of weakness. That decides whether she'll use acetone only, the e-file or both.
Tip: if any nail is partly lifted, mention it when you book so your technician can allow for sensitive areas.
Step 2 — Professional removal
Depending on the assessment:
- The top coat and colour layer are filed down.
- The enhancement is soaked off or carefully e-filed.
- It's gently lifted off with a pusher. If the product won't budge, it goes back to soak — it's never pulled.
- A final buff with a soft file (240 grit) evens out the surface without over-thinning it.
Step 3 — Repair manicure
With the natural nail uncovered:
- Cuticle care: cuticles are pushed back with steel pushers and loose skin is trimmed with precision nippers.
- Intensive hydration: a massage with nourishing oil on nails and cuticles (sweet almond oil, concentrated vitamin E or keratin serum).
- Strengthening treatment: a repair base that seals the damaged layers and adds hardness.
- Protective polish (optional): if you like, a soft colour in gel polish or regular polish, which also works as a shield.
- A final cuticle oil to lock in the hydration.
You'll find all the details on our full removal page.
After Removal: Keeping Your Nails Strong
The first 48 hours
Your nails have just been through a chemical and mechanical process, so these first two days matter:
- Avoid long contact with water: wear gloves for the washing-up. Too much water swells the weakened keratin layers.
- Don't file or cut your nails: let them settle for at least 48 hours.
- Apply cuticle oil twice a day, morning and night. Jojoba or argan oil both work well.
- Don't use your nails as tools: opening cans, scratching off labels… these everyday habits cause tiny breaks in fragile nails.
Long-term hydration and strengthening
Full recovery of the natural nail can take 8 to 12 weeks (the time it takes to grow out from the matrix). During that time:
- Oil your cuticles every day. It's the simplest and most effective step.
- Use a hardener or strengthening base every 5-7 days as a protective layer.
- Keep your nails short: the less free edge, the less risk of snags and breaks.
- Avoid metal files: go for glass files or fine-grit ones (240+) that don't tear the layers.
- Add biotin to your diet if your doctor thinks it's appropriate. It's no miracle, but several studies suggest it improves nail hardness over time.
For more aftercare ideas, take a look at our guide to removing gel and acrylic nails, where we go into more recovery options.
FAQ: Removal and Repair Manicure
How long should I leave between removals so my nails don't suffer?
Ideally, don't have a full removal more often than every 6-8 weeks. If you keep taking enhancements off and putting them straight back on with no break, the nail plate gets thinner and thinner until it can't hold any product well. After a removal with a repair manicure, wait at least 2-3 weeks before going back to enhancements. If your nails are peeling or hurt when you press them, give them longer, until they've grown out healthy from the root.
Can I remove them at home or should I see a professional?
Taking off acrylics or gel at home is one of the most common — and most damaging — mistakes. Without the right tools (a calibrated e-file, professional acetone, files of the right grit), it's easy to rip off layers of keratin along with the product. The result: very thin, sore nails and a much longer recovery. Fixing the damage from a DIY removal ends up costing more than doing it properly from the start. We always recommend a professional salon such as Adrian Beauty Studio in Gandia or our Ontinyent salon.
When can I have enhancements put back on after removal?
It depends on the state of your nails. If the repair manicure shows they're in good shape (no visible peeling, decent thickness, no pain), you could go back to enhancements after 2 weeks of home care with oils and a strengthening base. If there's moderate damage, it's best to wait a full growth cycle (6-8 weeks) while keeping up your daily hydration routine. Your technician will tell you honestly during the removal appointment, because forcing a new set onto weak nails only makes things worse.
Why do my nails break after removal?
Breaking after removal is mainly down to lost thickness and moisture. For months, the enhancement has been an outer shield and your nails haven't had to be strong on their own. Once that shield comes off, the nail is exposed: thinner from the earlier filing and dehydrated by the acetone. Without a repair manicure, that combination almost always leads to breaks in the first few days. That's why we insist that a removal on its own, with no treatment afterwards, works against the health of your nails.
What's the difference between a regular manicure and a repair manicure?
A standard manicure includes filing, shaping, cuticle care and polish. A repair manicure shares those steps but adds specific recovery treatments: intensive hydration with penetrating oils, strengthening bases with keratin, sealing of damaged layers and an approach that's more about treatment than looks. It isn't just "making them pretty" — it's rehabilitating the nail so it's functional and strong again. It's designed for after taking off enhancements, or whenever nails are visibly weak.
Visit Adrian Beauty Studio for Your Professional Removal
If you've noticed for weeks that your nails are thinner than usual, peeling or breaking easily under your enhancements, it's time to step back and look after the base. At our Gandia salon and in Ontinyent we do full removal with a repair manicure, with techniques adapted to the type of enhancement you're wearing.
Book your appointment and let your nails breathe, rehydrate and get their strength back. Sometimes the bravest thing you can do for your manicure is take it off properly.
Quick reference: types of manicure
| Type | Lasts | Appointment | Adds length? |
|---|---|---|---|
| Gel polish | 2-4 wks | 35-45 min | No |
| Gel overlay, no extension (formerly "semigel") | 3-4 wks | 55 min | No |
| Gel/Polygel with extension | 3-4 wks | 70-90 min | Yes |
| Acrylic | 3-5 wks | 80-100 min | Yes |
| OPI | 5-7 days | 30 min | No |